


For the neatest finish we
recommend crimping.
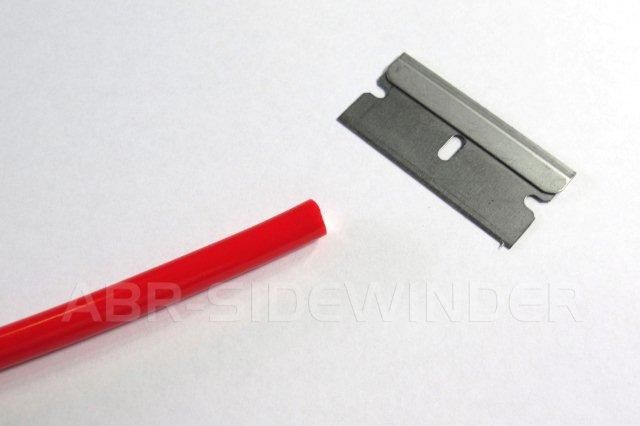
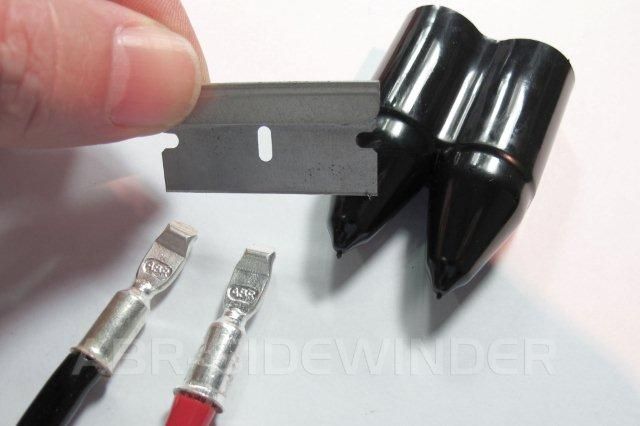
Using a sharp blade is the best way to cut back the insulation on the cable.
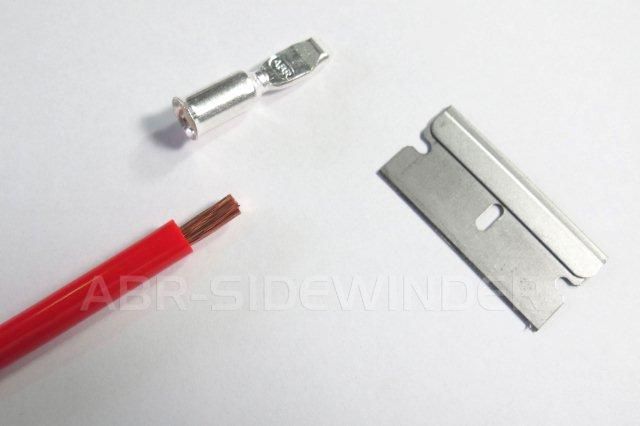
Measure the depth of the lug and trim the insulation back to allow the cable to push all the way in.
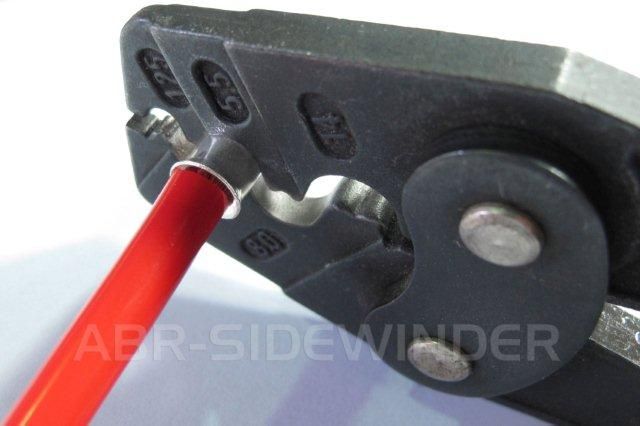
Using a suitable crimp tool select the correct size jaw for the cable / lug combination and firmly crimp the cable into the lug.
Do not over crimp as this will damage or cut the cable and the joint will eventually fail.
We recommend crimping so the indent is on the bottom. Do not deform the lug in any way as this will affect the final assembly of the plug.
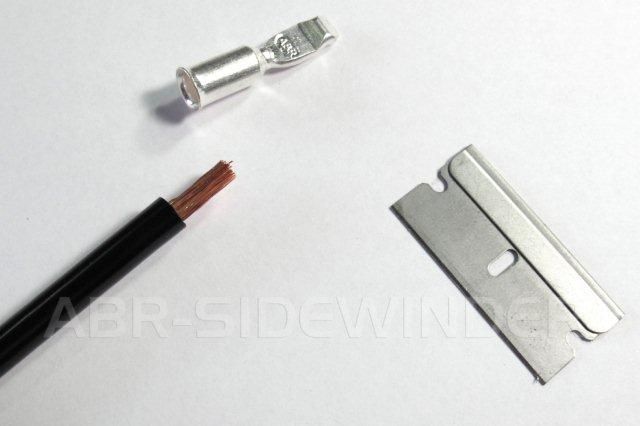
Measure the depth of the lug and trim the insulation back to allow the cable to push all the way in.
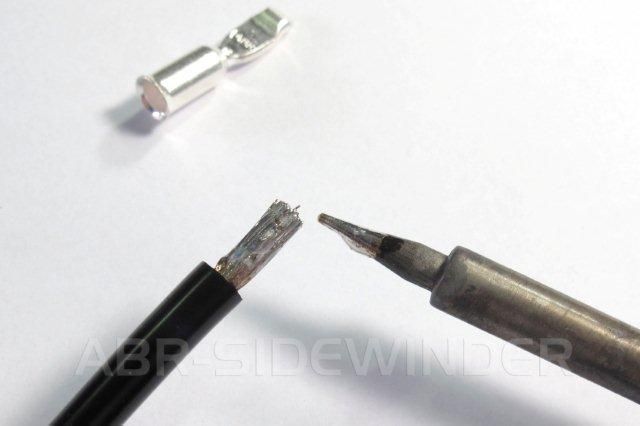
Using a soldering iron and resin solder tin the tip of the cable ensuring the strands are all tinned and coated.
Make sure the soldering iron is hot and powerful enough for the task. Using a weak soldering iron will cause a poor and messy joint.
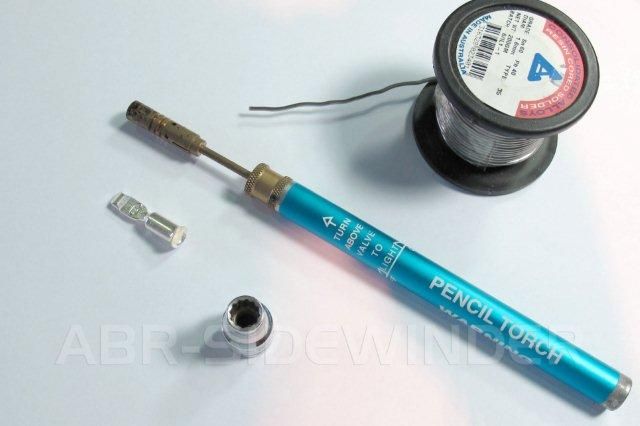
To solder the cable into the lug you require a powerful electric soldering iron or butane torch. We recommend these inexpensive butane torches for this task.
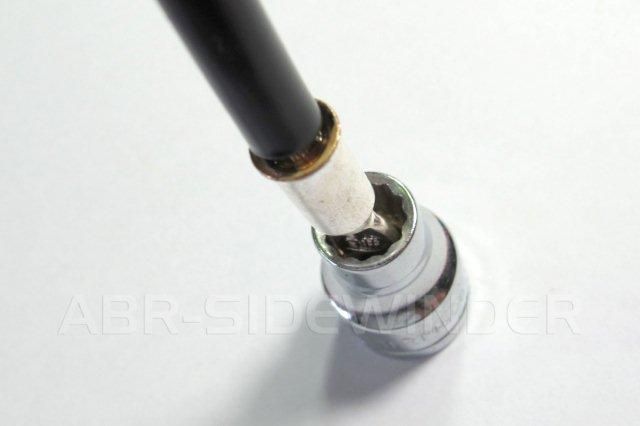
You will also need something to hold the lug upright. Make sure it holds the lug well so the heat is not transferred into the holder. We find a small socket works quite well.
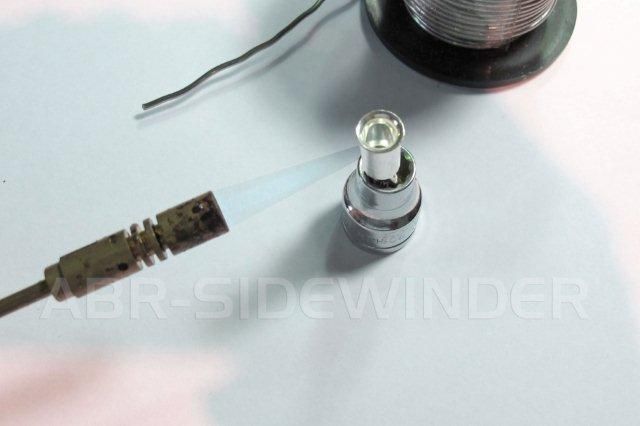
Heat the lug at the base of the ‘cable bucket’. Ensure you use a stable lug holder so the lug does not fall over and spill the solder. Care is to be taken and saftey clothing, glasses and gloves should be used.
Fill the lug approx half with molten solder and keep it hot.
You do not want too much solder otherwise it will spill over the lug and render the lug useless. It takes some practice and it is easier to add more solder than to try remove solder.
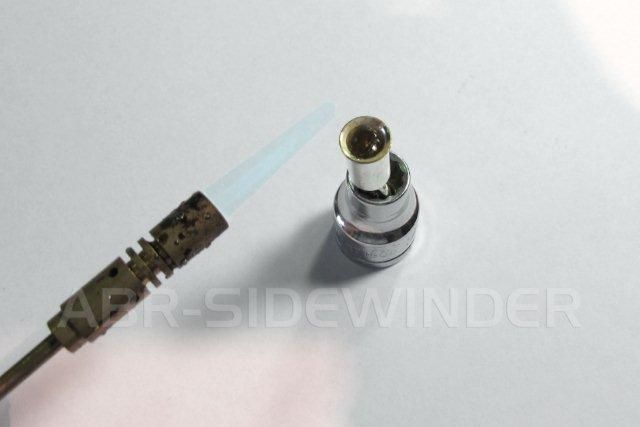
Keeping the heat on the lug slowly push the cable into the lug. Do not allow the solder to overflow. The molten solder should soften the tinned cable end and the solder should run into each other and wick slightly up the cable. Remove the heat and hold the cable still until the solder hardens.
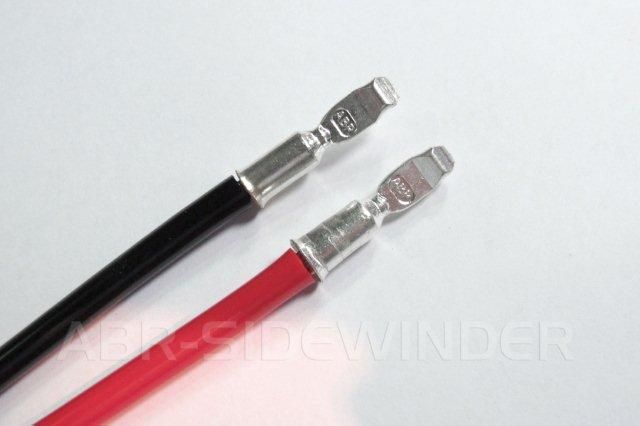
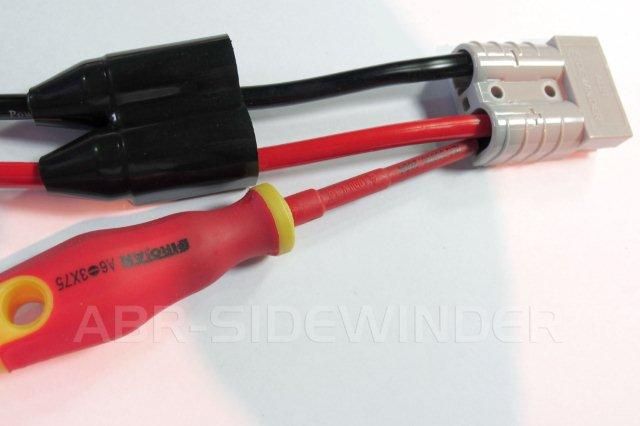
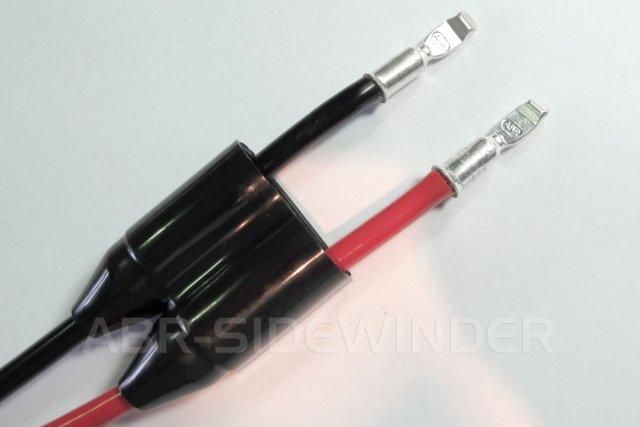
The black cable is the finished soldered method.
The red cable is the finished crimp method.

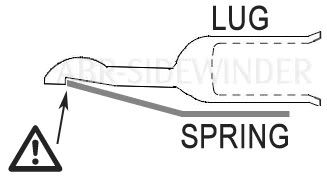
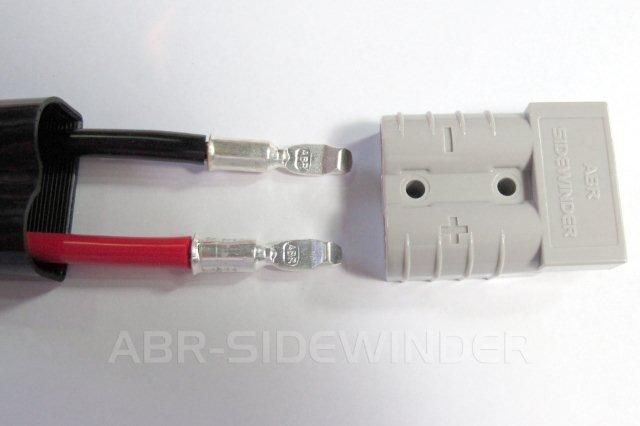
When inserting the lugs into the plug housing it is important the lugs clip over the springs.
We find that using a small screwdriver to push the lugs into place makes it a bit easier to do.
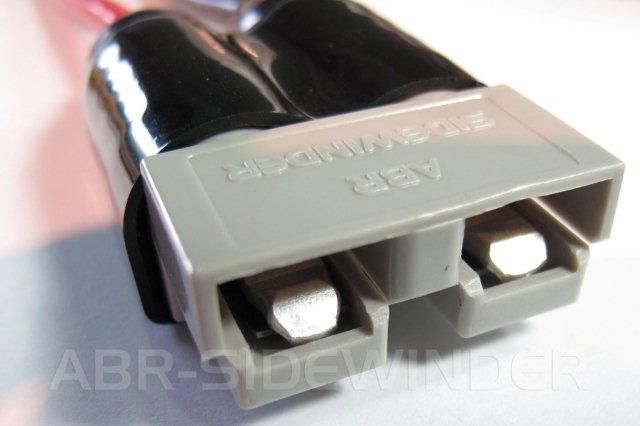
Once they clip into place over the springs they should look like this. The rounded edges to the top and the sharp lip underneath and clipped over the spring.
If you are fitting rear entry covers this must be done before you push the lugs into the housing.
Cut the cover to suit the cable size with a sharp blade.
Try make the holes slightly smaller than required so it is a tight fit.

Push the cables through the covers making sure of the position for the red and black cables.
Clip the lugs into the plug housing as described above.
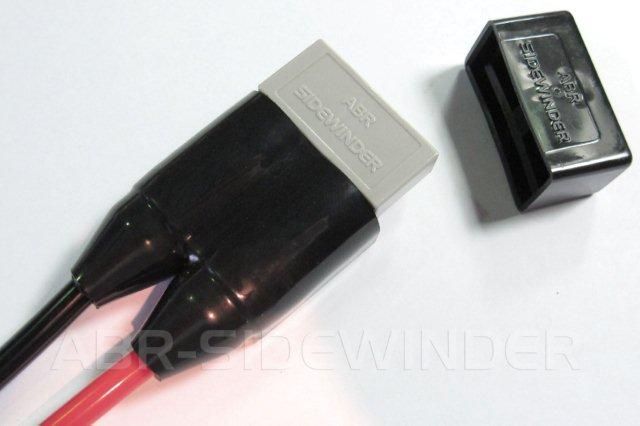
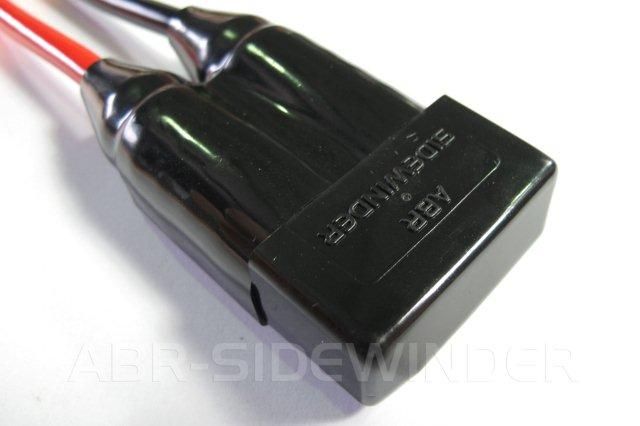
Slide the cover up and over the plug housing.
The plug housing should now be protected from dust and dirt entering from the rear cable entry.
There should be a front cover supplied with the cover kit to seal the front of the plug when not in use.
Once both covers are fitted the plugs are protected ensuring the plug is clean and ready next time you need it.


